How to Capture the Northern Lights with Your iPhone
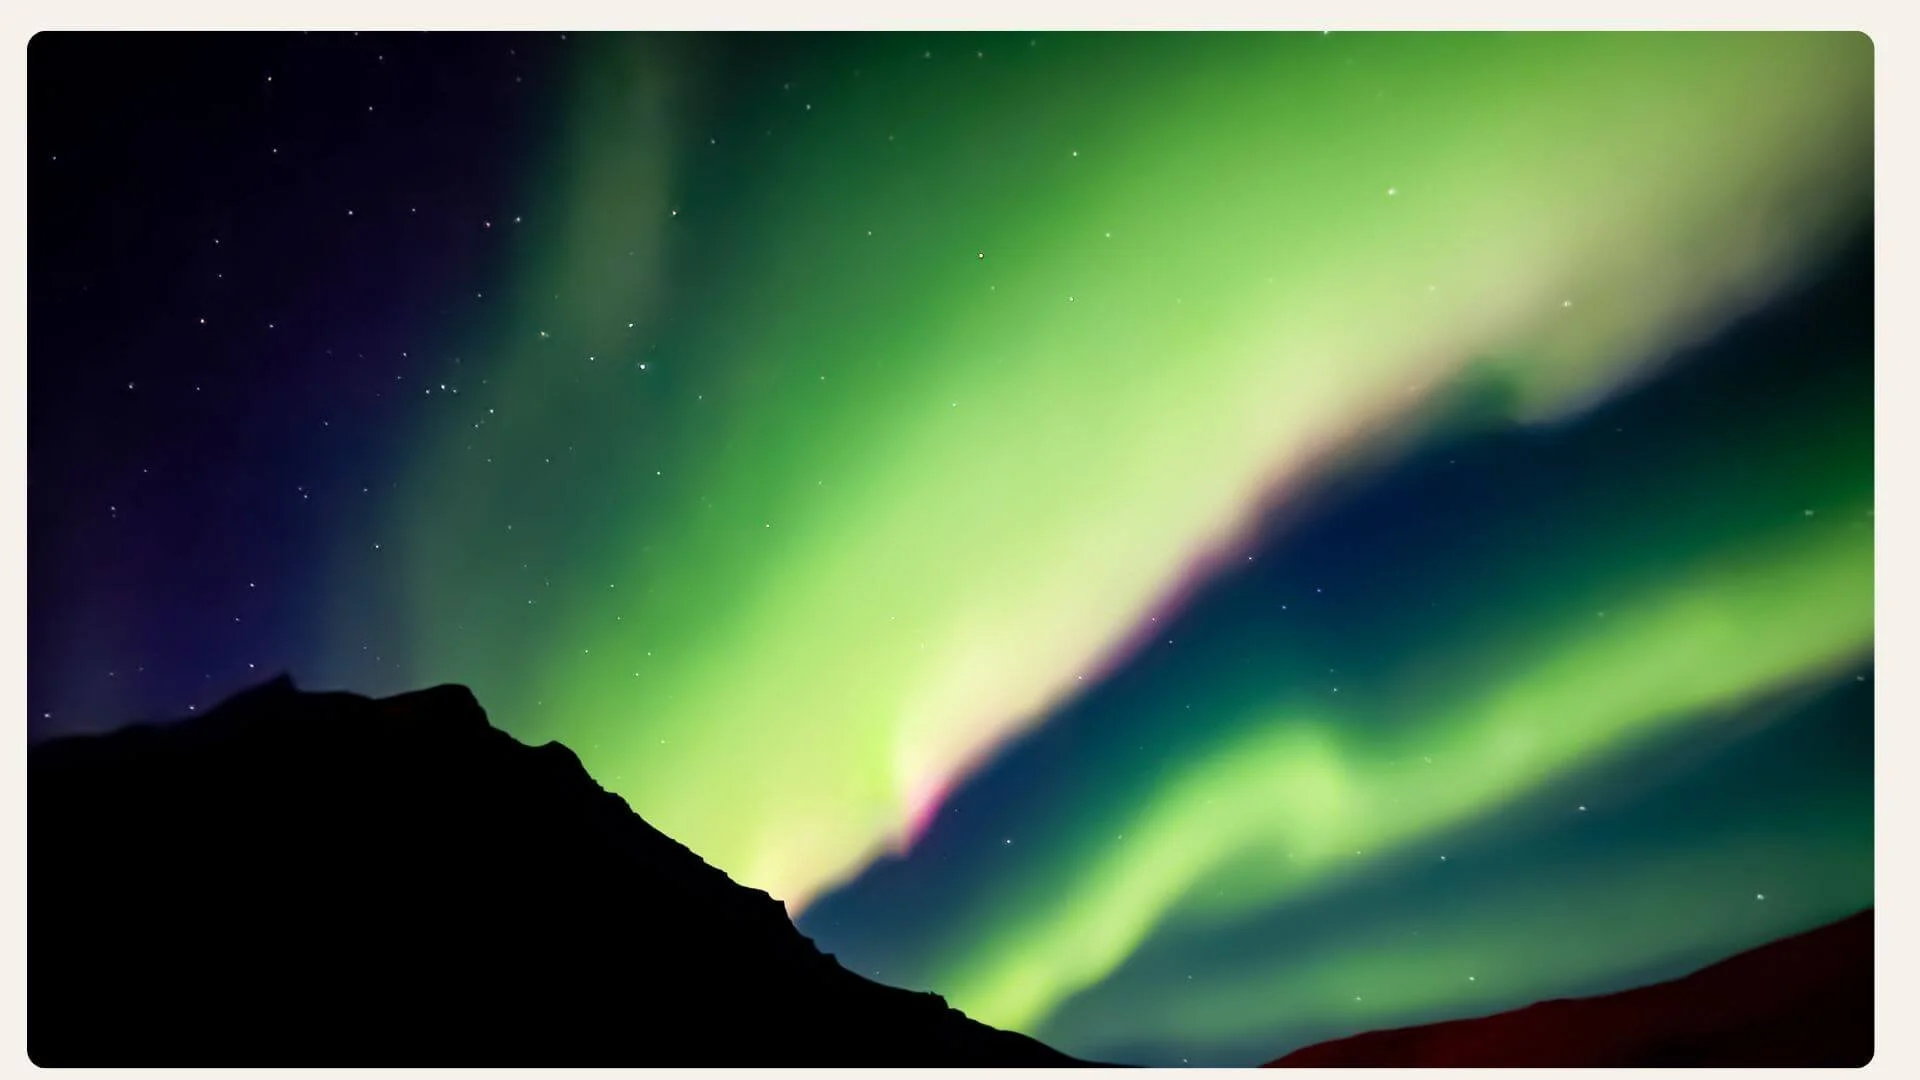
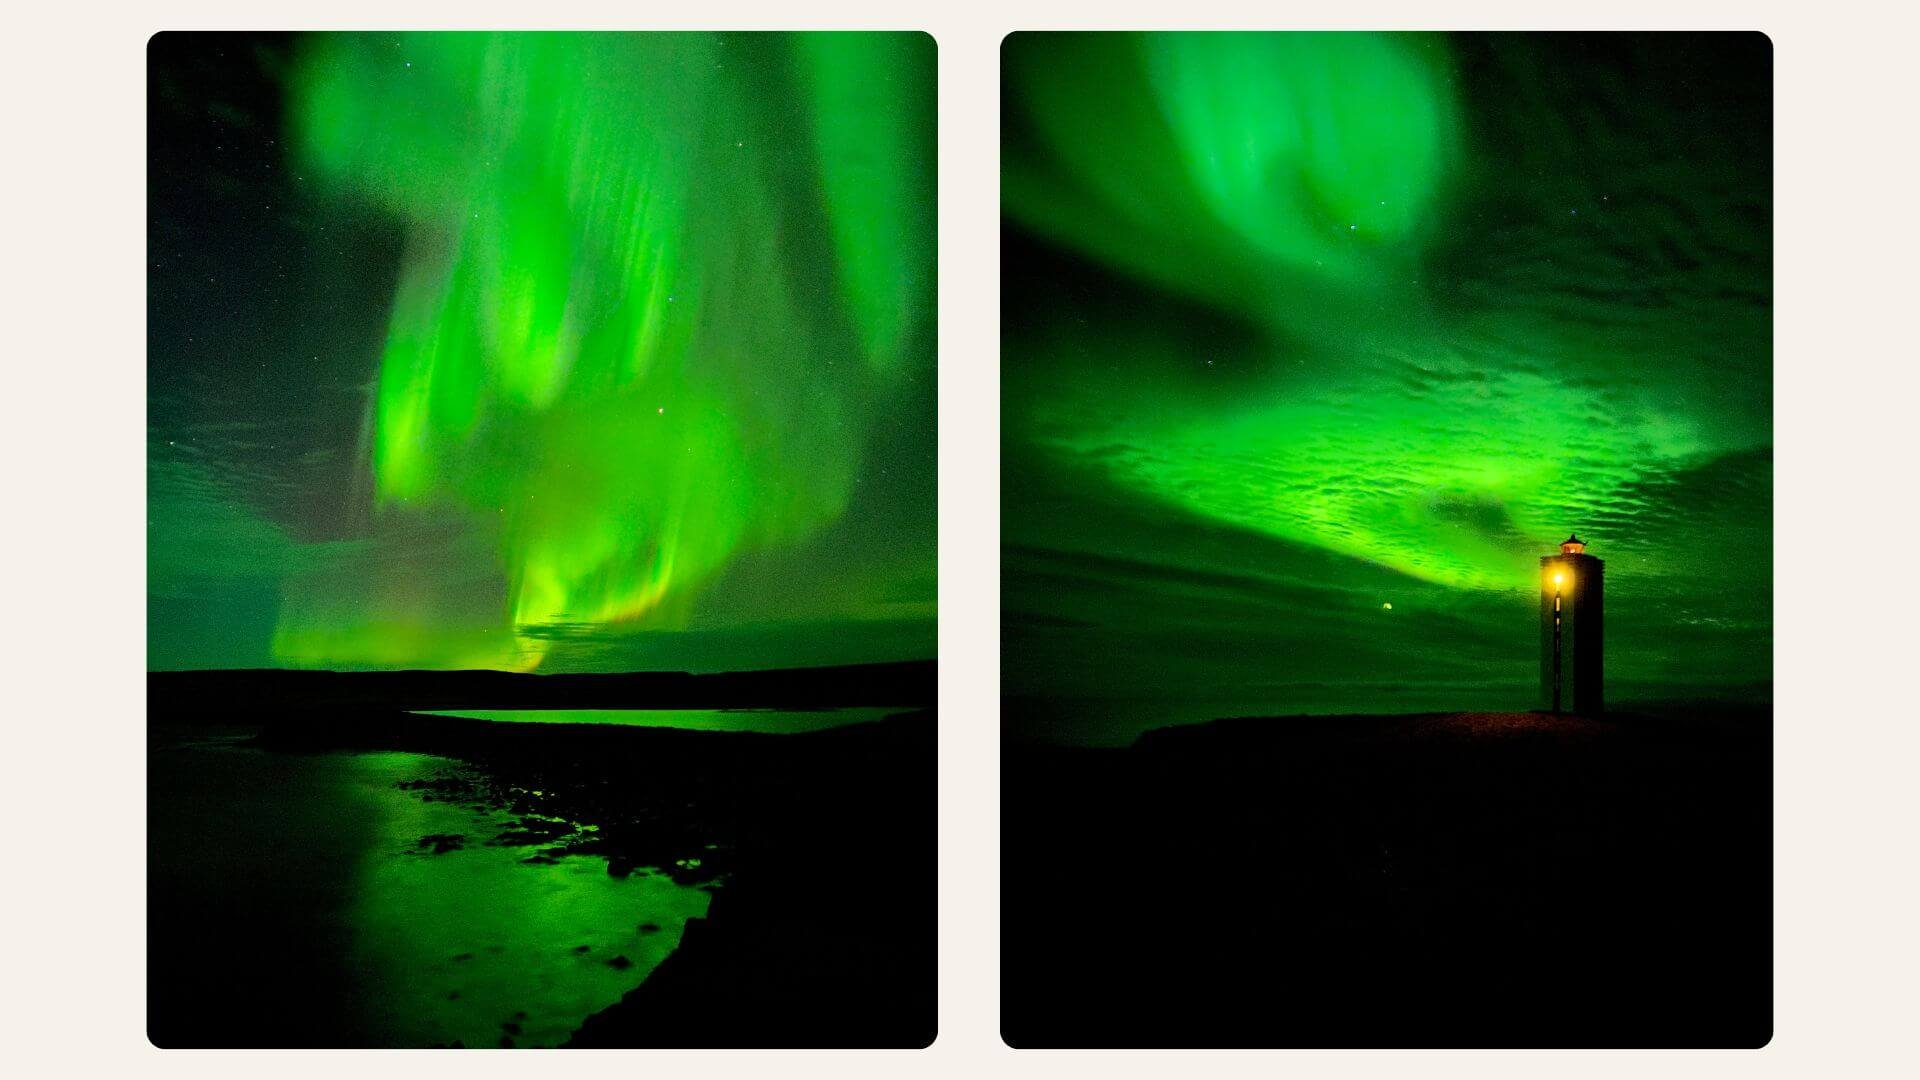
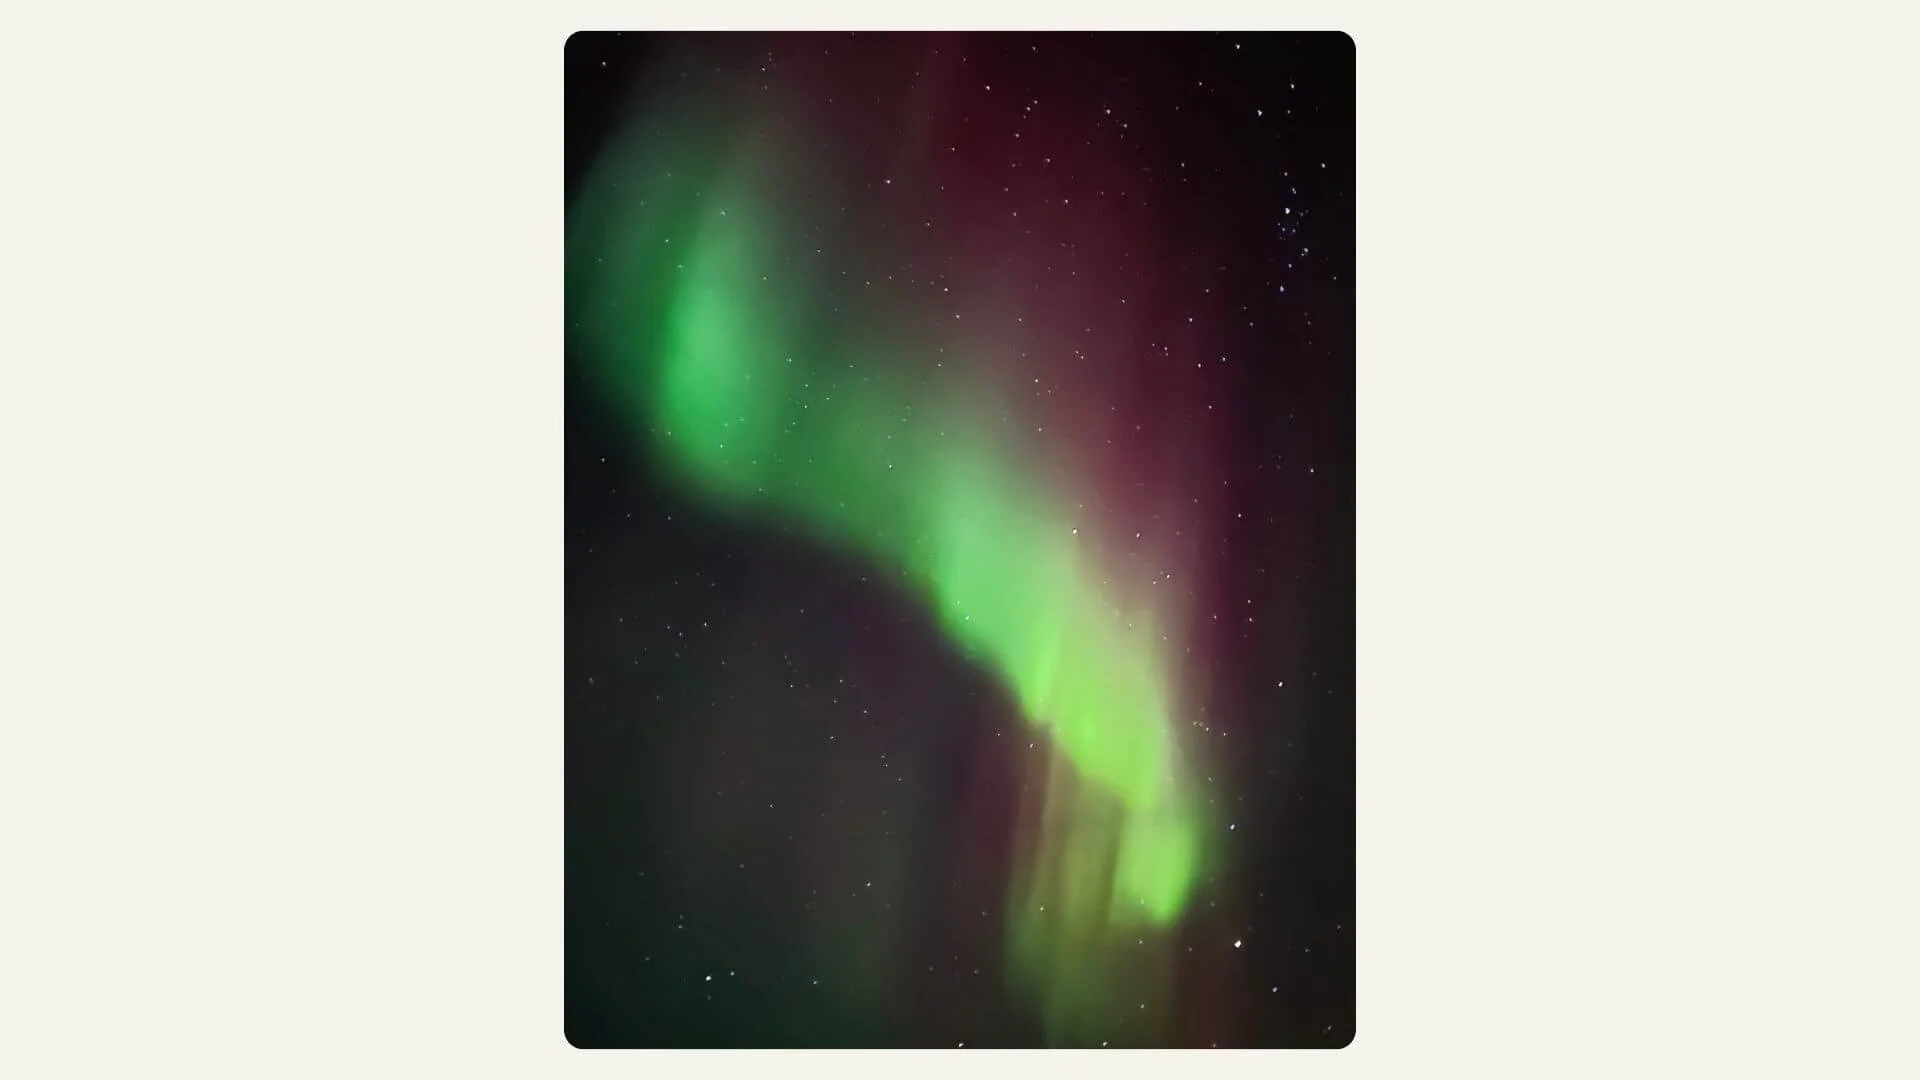
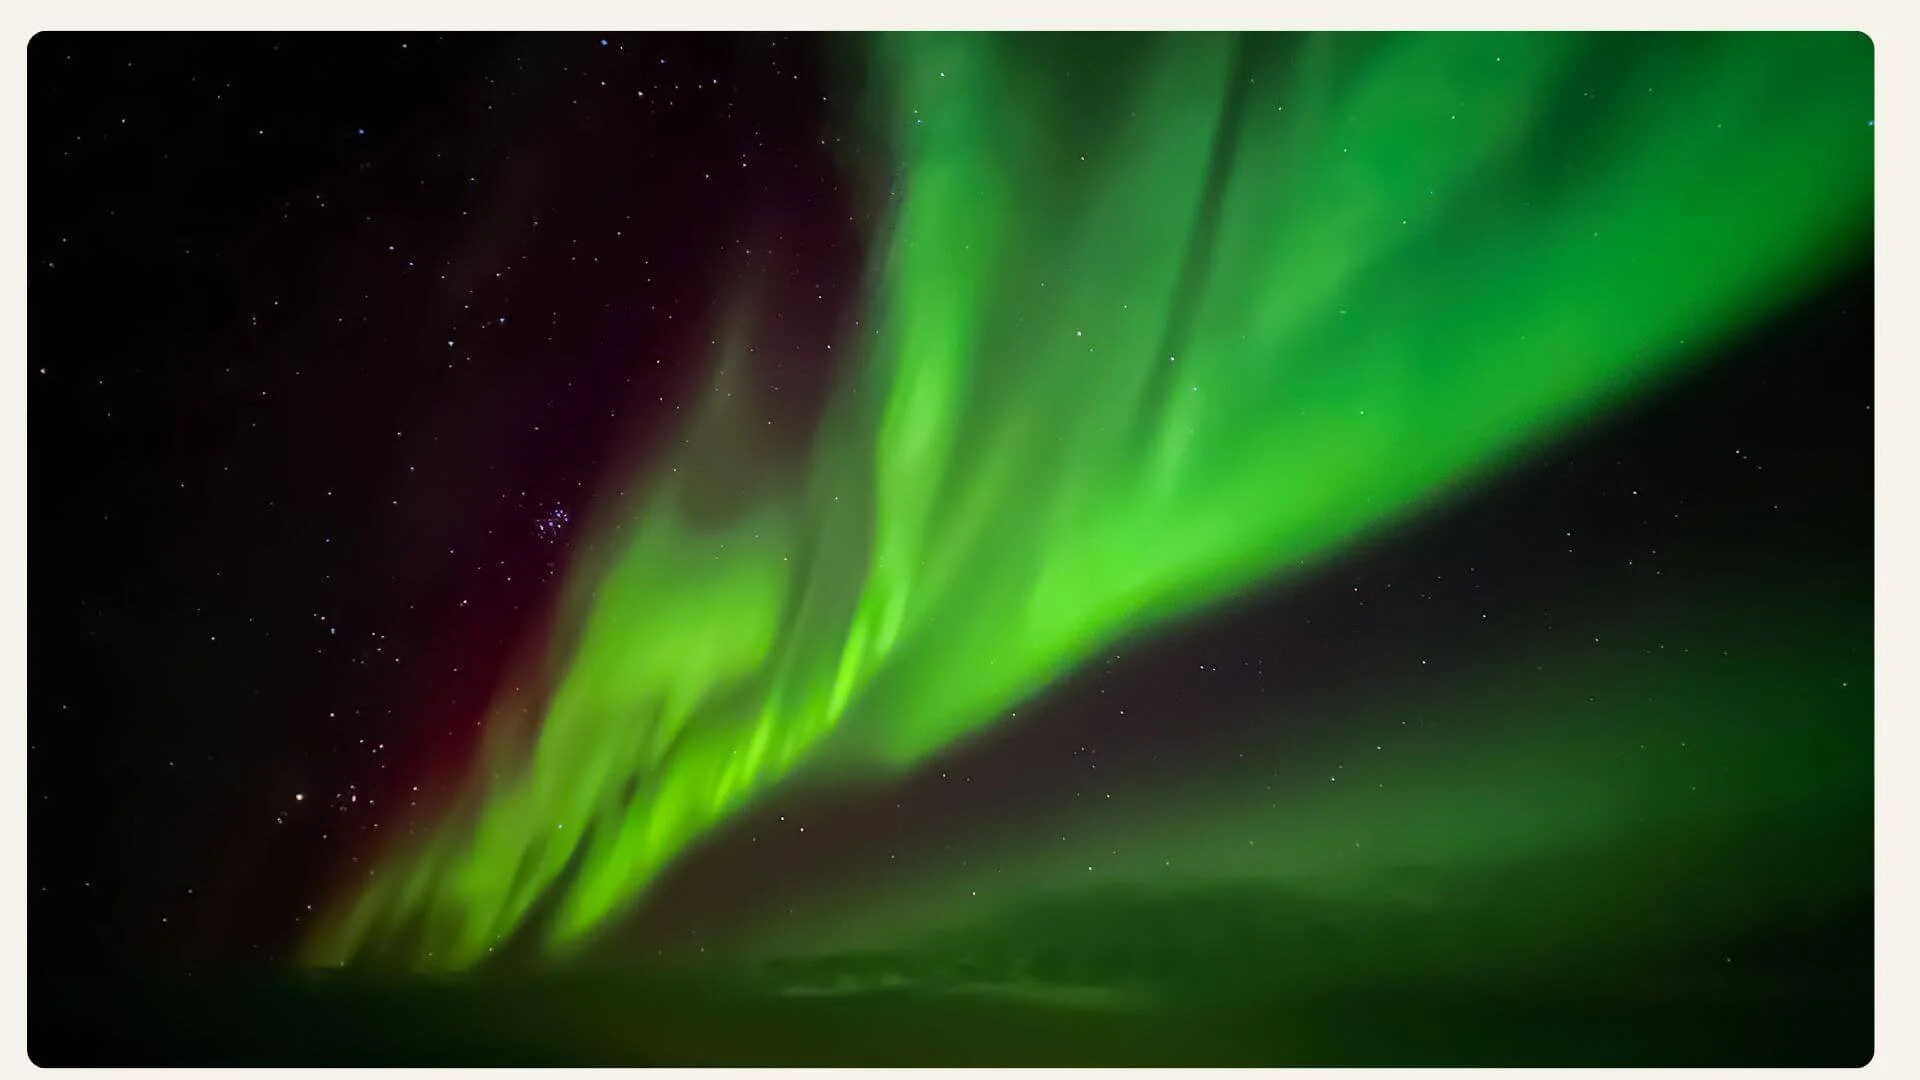
Over the past few days, social feeds across Europe have been glowing with photos of an unusually strong Northern Lights display. The colors were intense, the movement dramatic, and for many people, completely unexpected.
Alongside the excitement, though, one frustration kept coming up: “The sky looked incredible, but my iPhone photos don’t do it justice.”
That reaction is understandable but slightly misleading. In most cases, the issue isn’t the phone. It’s knowing how to let the camera do what it’s already capable of.
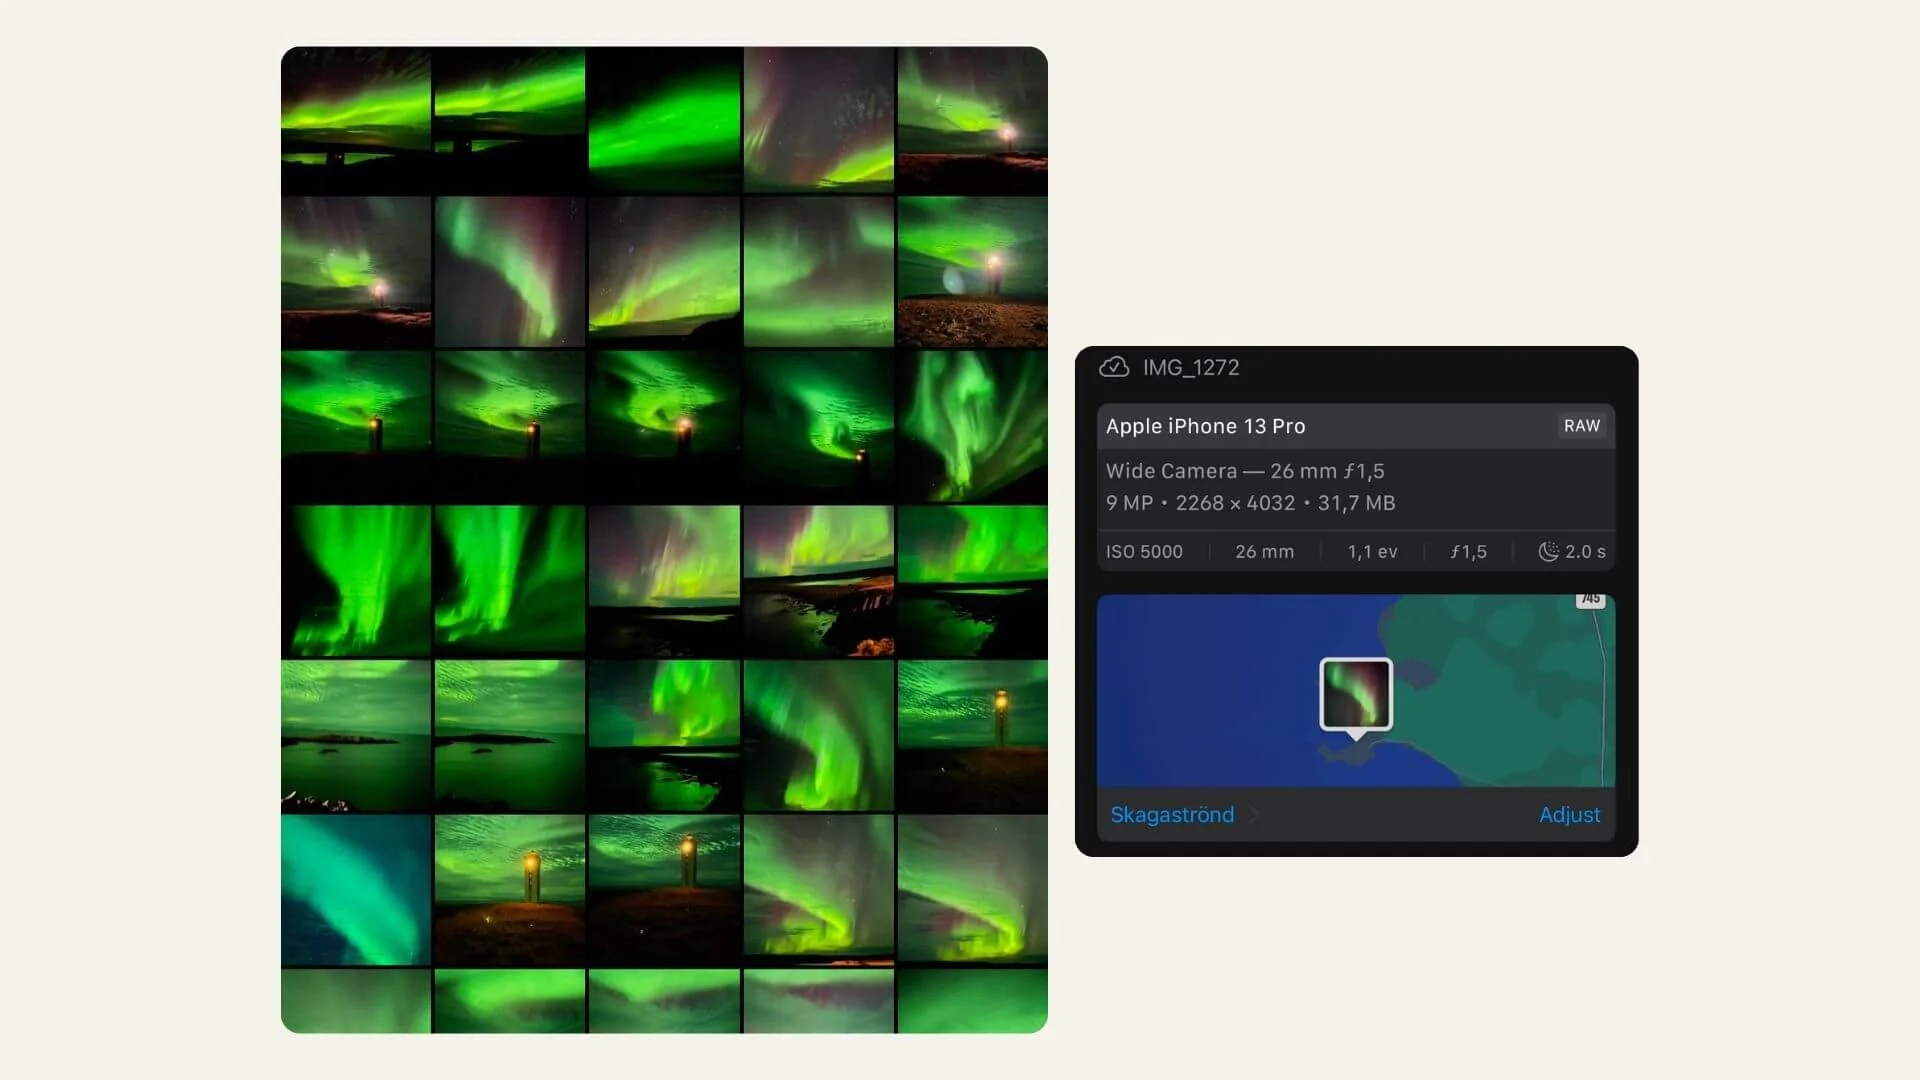
I was reminded of this while revisiting photos I took in Iceland during strong aurora activity. Those images weren’t captured with a professional camera app or complex setup. They were taken with the native iPhone Camera app using a few features that are easy to miss if you’ve never needed them before.
Below is a simple, reliable way to photograph the Northern Lights using just your iPhone.
Why Northern Lights Are Tricky for Smartphones
Aurora photography pushes any camera to its limits. The scene is dark, the subject is moving, and the contrast between sky and light is subtle. Smartphones try to “help” by keeping exposures short to avoid blur. But that’s exactly what prevents them from capturing the full color and depth of the lights.
The solution isn’t more gear. It’s longer exposure and stability.
Step 1: Unlock the iPhone’s “Hidden” 30-Second Exposure
Most people don’t realize the iPhone can shoot 30-second long exposures in Night Mode.
Here’s the key detail:
Handheld = up to 10 seconds
Completely still = up to 30 seconds
If you place your phone on a tripod, lean it against a rock, a thermos, or any solid surface, the iPhone detects that it’s stable. When that happens, the Night Mode timer automatically jumps from 10 seconds to “Max” (30s).
This is the single biggest difference between dull sky photos and rich, colorful aurora images.
Step 2: Manually Control Night Mode
Once your phone is stable, take control of Night Mode instead of letting it guess.
On newer iOS versions:
Open the Camera app
Tap the Night Mode (moon icon)
Tap it again and slide the timer to Max
On older iOS versions:
Open the Camera app
Tap the upward arrow at the top of the screen
Tap the Night Mode (moon) icon at the bottom
Slide the timer to Max (10s handheld, 30s if stabilized)
Don’t rush the shot. Let the full exposure finish.
Step 3: Lock Focus and Exposure
Auto settings often brighten the scene too much, washing out the sky and flattening the colors.
To prevent this:
Tap and hold on a distant star or the horizon
Wait until “AE/AF LOCK” appears in yellow
Slide the small sun icon down slightly to darken the sky
This keeps the background deep and allows the Northern Lights to stay crisp and defined.
A Few Practical Tips That Matter
Be gentle when tapping the shutter (any movement can blur a 30-second shot)
Avoid zooming digitally; step back and frame wider instead
Shoot multiple photos (the aurora changes quickly)
Don’t chase perfection; movement and softness are part of the experience
Your iPhone Is More Capable Than You Think
Moments like these are a good reminder: the camera in your pocket is powerful, but it won’t make creative decisions for you. When you understand how to guide it, when to slow down, stabilize, and take control, then you get results that feel much closer to what your eyes actually saw.
The next time the sky lights up, you’ll be ready.
Happy shooting 🤳🌌
P.S. All the Northern Lights photos used in this article were taken back in 2022 in Iceland with an iPhone 13 Pro, using the native Camera app only. No third-party apps, no advanced gear. Just a steady phone, Night Mode, and a bit of patience.